
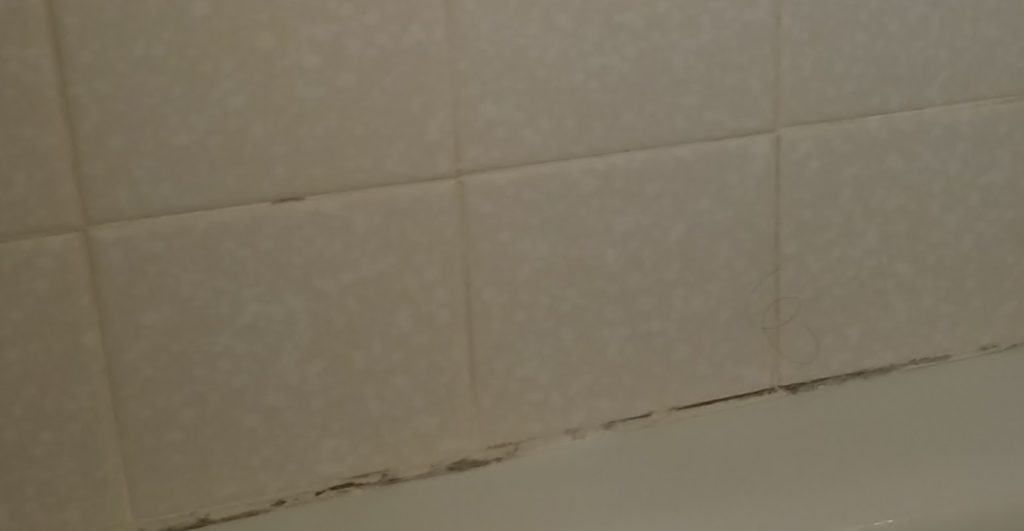
If your caulk is looking like this, it’s time to do something about it!
Cracking caulk or grout isn’t just an aesthetic issue, it’s a breech in the barrier which is supposed to keep water out. Left alone, small leaks can cause big damage inside walls or cabinets over time creating rot and mold.
Many tile installers use grout in corners and on the edges. Slight expansion and contraction over time degrades the grout in these areas. Quality, mold resistant caulking has flexibility and will last much longer.
Getting nice straight caulk lines can be a tricky. One key to getting it right is using less that you might imagine you need, then using a wet finger to smooth it out. If you use too much it’s very difficult to get clean lines and there is a lot of waste.
When removing caulk or grout, sometimes scrapers and razors are all that is needed. When the caulk is stubborn, a heat gun is required to help loosen it from the surface. After removal it is important to clean the area thoroughly with denatured alcohol to kill any microbes and remove any grease, soap scum, etc., so that the new caulk will adhere strongly and be mold-free.
Other areas to inspect caulk inside your home include around sinks in bathroom and kitchen, around counter tops, and at the base of your toilet.
Caulk also plays an important role on the outside of your home around doors and windows.
There are many different types of caulk available with specific purposes for each kind. Some caulks are made to dry quickly so that they can be painted over, which saves time for the painter, but many of this type tend to crack in just a few years or sooner. There are types made specifically for the bathroom and wet areas, some for exterior, some are super stretchy, some clear, some paintable, some not, so one must choose carefully!